Why You'll Love It
- - Ready in just half an hour, so no rush
- - No oven needed, just a fridge
- - Oreo crumbs give a satisfying crunch
- - Creamy filling stays silky even after chilling
*"These bites are the perfect balance of crunch and cream—my family can’t get enough!"*
Essential Ingredient Guide
- Cream cheese: Choose full‑fat cream cheese for a velvety texture; let it soften before mixing.
- Oreo cookies: Crush them finely for the crust and coarsely for the topping to give contrast.
- Whipped topping: Provides lightness; fold gently to keep air in the mixture.
- Vanilla extract: A splash enhances the sweet‑cream flavor without overpowering.
- Lemon juice: Just a teaspoon brightens the richness and balances the sweetness.
- Sugar: Adjust to taste; the Oreo crumbs already add sweetness.

Complete Cooking Process
-
Ingredient Readiness:
Soften the cream cheese, crush the cookies, and have all measuring spoons ready.
-
Flavor Development:
Blend the cream cheese with sugar, vanilla, and lemon, then fold in whipped topping.
-
Texture Control:
Press the fine cookie crust into the tin, then pipe the creamy filling gently.
-
Finishing Touches:
Sprinkle coarsely crushed Oreo pieces on top for that satisfying crunch.
-
Serving Timing:
Chill for at least 20 minutes; serve straight from the fridge for optimal firmness.
- Use a food processor for even cookie crumbs – it saves time.
- Do not over‑mix the cream cheese once sugar is added, or it can become grainy.
- Pipe the filling with a zip‑lock bag for a neat, uniform bite.
- Add a tiny pinch of salt to deepen the chocolate flavor.
Pro Tips
When you let the bites rest, the flavors meld and the texture firms up nicely. I often find that a brief extra chill gives the perfect snap when you bite into the Oreo crust, and the creamy center stays luscious. So, give them that little extra patience, and you’ll be rewarded with a dessert that feels both home‑cooked and elegant.
The essence of the dish:
A fun fact or historical angle:
Flavor or sensory focus:
You Must Know
- Keep the crust firm by pressing firmly.
- Do not over‑whip the topping; stay fluffy.
- Chill before serving for clean slices.
Frequently Asked Questions
→ Can I use gluten‑free Oreo cookies?
Yes, substitute with a certified gluten‑free chocolate sandwich cookie; the flavor remains similar.
→ How long can the bites be stored?
Keep them sealed in the refrigerator for up to 3 days; they stay fresh and firm.
→ Can I freeze these bites?
Absolutely—wrap individually and freeze for up to a month; thaw in the fridge before serving.
→ Do I need an electric mixer?
A hand whisk works fine, but a mixer makes the process smoother and quicker.
→ What can I use instead of whipped topping?
Whipped coconut cream or a light cream cheese‑yogurt blend works as a dairy‑free alternative.
→ Is it possible to make a vegan version?
Swap cream cheese for a vegan cream cheese, use coconut whipped topping, and ensure the cookies are vegan.
Chef's Tips
If the crust feels too dry, add a splash more melted butter.,Use a zip‑lock bag to pipe the filling for a neat appearance.,For extra flavor, drizzle a thin line of melted chocolate over the top before chilling.
Nutrition Facts
per serving
210
Calories
3g
Protein
22g
Carbs
12g
Fat
Taste Profile
A sweet, creamy dessert with a chocolate crunch.
Ingredient Substitutions
Don't have an ingredient? Try these alternatives
Mascarpone yields a richer texture; vegan cheese keeps it dairy‑free.
Provides a subtle coconut note; chill the can before whipping.
Recipe Variations
Try these delicious twists on the original
Spicy Version
Add a pinch of cayenne and a drizzle of chocolate chili sauce for a playful kick.
Mediterranean Style
Fold in crumbled feta and a hint of orange zest for a bright, savory twist.
Common Mistakes to Avoid
Learn from others' mistakes for perfect results
- Over‑mixing the cream cheese, leading to grainy texture.
- Using too much butter in the crust, making it greasy.
- Cutting the bites before they are fully set, causing crumbling.
Meal Prep & Storage
Make Ahead Tips
You can prepare the crust and filling a day ahead; keep them separate and assemble just before chilling.
Leftover Ideas
Refrigerate leftovers in a sealed container; gently warm in the microwave for 10 seconds if you prefer a softer bite.
Perfect Pairings
Serve this with...
Cooking Timeline
Prepare crust: crush cookies, melt butter, press into pan.
Mix cream cheese, sugar, vanilla, and lemon; fold in whipped topping.
Spread filling over crust and add crushed Oreo topping.
Chill in the refrigerator until firm; then cut into bites.
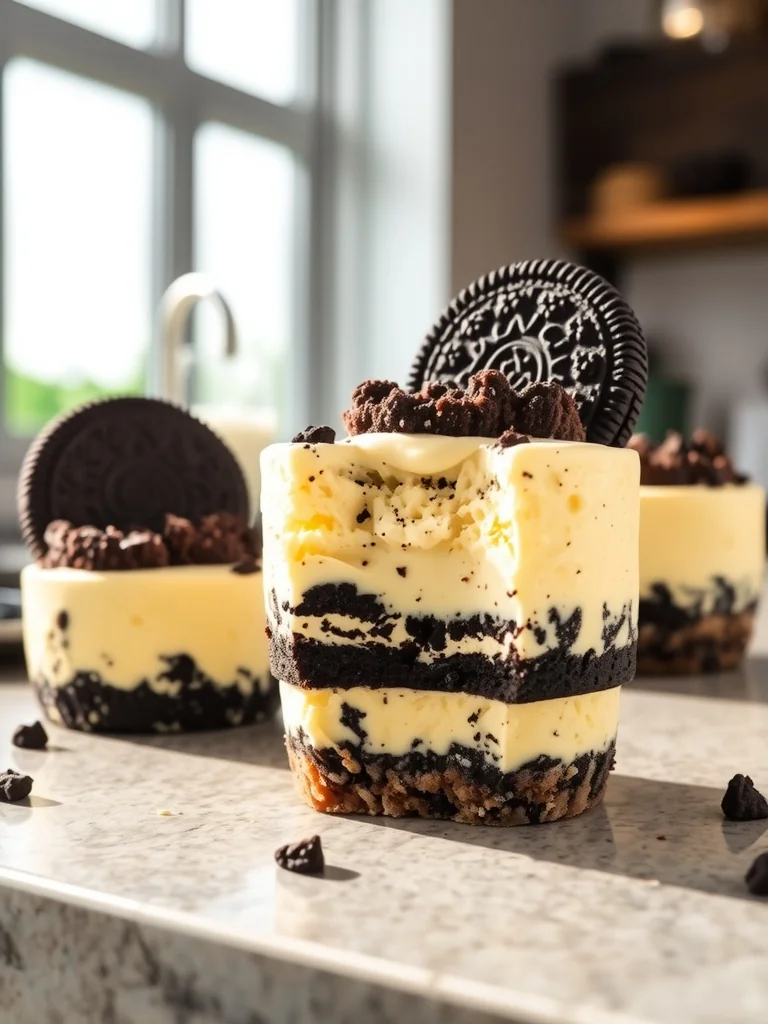
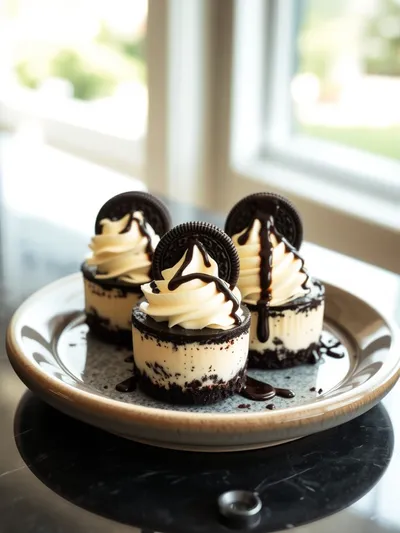
Oreo Cheesecake Bites – Quick 30‑Minute Dessert
Indulge in creamy, chocolate‑crunch Oreo cheesecake bites that come together in just 30 minutes. Perfect for a quiet evening or a small gathering, these bites deliver a buttery crust, smooth filling, and that familiar Oreo snap. Honestly, they’re like little clouds of comfort that melt on the tongue.
Timing
Prep Time
15 Minutes
Cook Time
0 Minutes
Total Time
30 Minutes
Recipe Details
Ingredients
Crust
- 01 1 ½ cups Oreo cookies, finely crushed
- 02 3 tbsp unsalted butter, melted
Filling
- 01 8 oz cream cheese, softened
- 02 ¼ cup granulated sugar
- 03 1 tsp vanilla extract
- 04 1 tsp lemon juice
- 05 ½ cup whipped topping
Topping
- 01 6 Oreo cookies, coarsely crushed
Instructions
Combine the finely crushed Oreo crumbs with melted butter; press the mixture into the bottom of a 9‑inch springform pan, creating an even crust.
In a bowl, beat softened cream cheese until smooth, then add sugar, vanilla, and lemon juice; mix until just combined.
Fold the whipped topping into the cream cheese mixture gently, keeping the batter light and airy.
Spread the filling over the crust, smooth the top, and sprinkle the coarsely crushed Oreos evenly.
Refrigerate for at least 20 minutes; then cut into bite‑size squares and serve.
Notes & Tips
- 1 If the crust feels too dry, add a splash more melted butter.
- 2 Use a zip‑lock bag to pipe the filling for a neat appearance.
- 3 For extra flavor, drizzle a thin line of melted chocolate over the top before chilling.
Tools You'll Need
-
Food processor or zip‑lock bag for crushing cookies
-
Mixing bowls
-
Hand mixer or whisk
-
Springform pan or mini muffin tin
-
Spatula
-
Measuring cups and spoons
Must-Know Tips
- Don’t over‑mix the cream cheese or it can become grainy.
- Press the crust firmly to avoid crumbling.
- Chill the bites long enough for clean cutting.
Professional Secrets
- Room temperature cream cheese ensures a silky filling.
- Use a light hand when folding whipped topping to keep air.
- A brief chill after topping helps the cookie pieces adhere.

Recipe by
EvaEva is a seasoned home‑cook turned recipe developer who brings a dash of curiosity and a pinch of precision to every dish she creates for Your Website ...
Get Delicious Recipes Weekly
Join 25,000+ home cooks getting our best recipes straight to their inbox.
Free forever • No spam • Unsubscribe anytime