Why You'll Love It
- - Only two pantry staples, nothing fancy
- - Ready in under 30 minutes, perfect for busy mornings
- - Soft crumb and a lightly crisp crust that feels homemade
- - Great base for butter, jam, or savory toppings
*“The texture surprised me—soft inside, a sweet‑golden crust on the outside. It’s become my go‑to for quick meals.”*
Essential Ingredient Guide
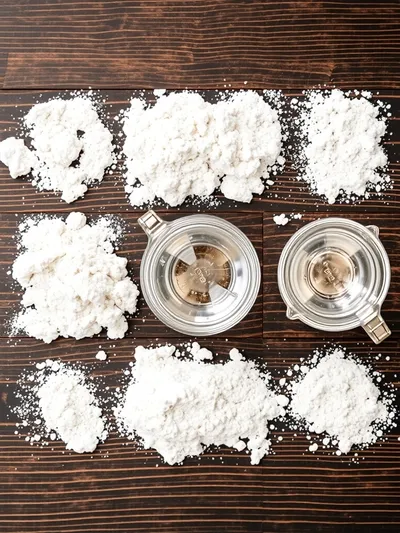
- Self‑rising flour: Provides the lift; sift it to avoid clumps and ensure an even rise.
- Milk (any kind): Adds moisture and flavor; room temperature milk mixes more smoothly.
- Optional herbs or cheese: A sprinkle of herbs or a handful of grated cheese can personalize the loaf.
- Salt: A pinch enhances the overall flavor without making the bread salty.
- Butter for brushing: Adds a glossy finish and a hint of richness to the crust.
- Sugar (optional): A teaspoon can add a subtle sweetness if you like a slightly sweet loaf.
Complete Cooking Process
-
Ingredient Readiness:
Measure flour and milk, let the milk sit at room temperature for a few minutes.
-
Flavor Development:
Combine the dry ingredients first, then gently stir in the milk to avoid over‑mixing.
-
Texture Control:
The batter should be thick but pourable; a gentle fold keeps the crumb tender.
-
Finishing Touches:
Brush the top with melted butter for a golden sheen just before baking.
-
Serving Timing:
Let the loaf rest a couple of minutes after it exits the oven; it finishes setting as it cools.
- Use a light hand when mixing; over‑mixing can make the crumb dense.
- If you like a crunchy crust, place a small pan of water in the oven for steam.
- Try adding a pinch of garlic powder for a savory twist.
- Cool the loaf on a wire rack to keep the bottom from getting soggy.
Pro Tips
Honestly, these little adjustments feel like secret whispers from a well‑lived kitchen. The steam tip, for example, creates that subtle crackle you hear as you cut the loaf, reminding you of a bakery on a quiet street. And the gentle fold? It’s just a quiet moment to honor the simple ingredients, letting them speak for themselves.
The essence of the dish:
A fun fact or historical angle:
Flavor or sensory focus:
You Must Know
- Don’t over‑mix the batter
- Use room‑temp milk
- Brush with butter for shine
Frequently Asked Questions
→ Can I use gluten‑free flour?
Yes, substitute self‑rising gluten‑free flour and keep the same milk ratio; the texture will be slightly different but still delightful.
→ How long does the bread stay fresh?
Stored in an airtight container, it stays soft for up to three days at room temperature.
→ Can I add sweeteners?
A tablespoon of honey or sugar can be whisked into the batter for a lightly sweet loaf.
→ Is this recipe suitable for vegans?
Use plant‑based milk (almond, soy, oat) and a vegan butter substitute for the brush.
→ What’s the best way to reheat?
Wrap a slice in foil and warm in a 350°F oven for about 10 minutes, or toast lightly.
→ Can I bake it in a muffin tin?
Absolutely—fill each cup 2/3 full and bake 20‑22 minutes for mini loaves.

Chef's Tips
Do not over‑mix; a few lumps are fine.,For a crispier crust, place a shallow pan of water on the lower oven rack.,Feel free to experiment with sweet add‑ins like honey or cinnamon.
Nutrition Facts
per serving
210
Calories
7g
Protein
32g
Carbs
5g
Fat
Taste Profile
Mildly buttery with a comforting warm grain flavor
Ingredient Substitutions
Don't have an ingredient? Try these alternatives
Mix the dry ingredients thoroughly to mimic self‑rising.
Use a plain, unsweetened variety for best flavor.
Recipe Variations
Try these delicious twists on the original
Spicy Version
Add ½ tsp chili flakes and a dash of smoked paprika for a subtle heat.
Mediterranean Style
Stir in chopped olives, sun‑dried tomatoes, and a sprinkle of feta.
Common Mistakes to Avoid
Learn from others' mistakes for perfect results
- Over‑mixing the batter, which makes the crumb dense.
- Baking at too low a temperature, resulting in a pale, flat loaf.
- Skipping the butter brush, leading to a dull crust.
Meal Prep & Storage
Make Ahead Tips
You can whisk the batter a day ahead and keep it refrigerated; just give it a quick stir before baking.
Leftover Ideas
Reheat gently in a skillet with a dab of butter or toast slices for a crisp edge.
Perfect Pairings
Serve this with...
Cooking Timeline
Preheat oven, gather and measure flour and milk.
Whisk dry ingredients, create well, add milk, stir gently.
Fold in optional herbs or cheese, pour batter into pan.
Brush with butter, bake until golden and a toothpick comes out clean.
Cool briefly, remove from pan, slice and serve.
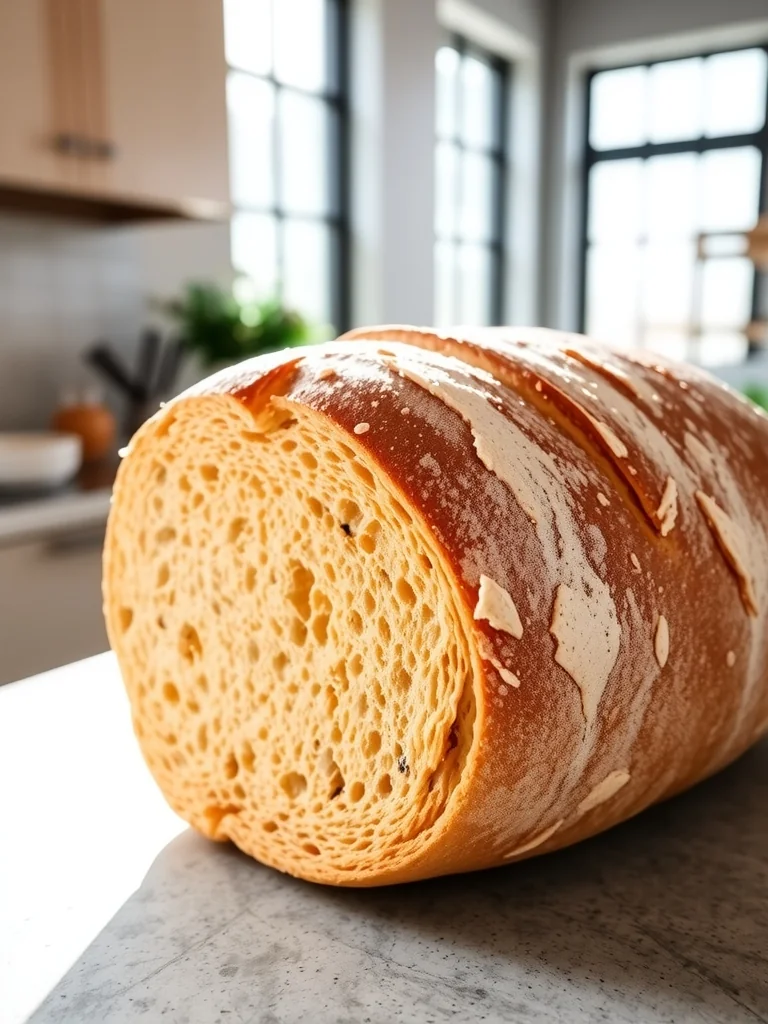
No Yeast 2-Ingredient Bread – Quick & Easy
A warm, fluffy loaf that comes together in minutes with just two pantry staples—no yeast, no fuss, just comforting bread.
Timing
Prep Time
10 Minutes
Cook Time
20 Minutes
Total Time
30 Minutes
Recipe Details
Ingredients
Main Ingredients
- 01 2 cups self‑rising flour
- 02 1 cup milk (any kind)
Optional Add‑Ins
- 01 1 tsp dried herbs (optional)
- 02 ¼ cup grated cheese (optional)
- 03 1 tbsp melted butter for brushing
Instructions
Preheat the oven to 375°F (190°C) and line a loaf pan with parchment.
In a bowl, whisk together the self‑rising flour and a pinch of salt.
Create a well in the flour, pour in the milk, and stir gently until just combined; the batter should be thick.
If using, fold in herbs or cheese, then pour the batter into the pan and smooth the top.
Brush the surface with melted butter and bake for 20‑25 minutes, or until golden and a toothpick comes out clean.
Allow the bread to cool in the pan for five minutes, then turn out onto a rack to finish cooling.
Notes & Tips
- 1 Do not over‑mix; a few lumps are fine.
- 2 For a crispier crust, place a shallow pan of water on the lower oven rack.
- 3 Feel free to experiment with sweet add‑ins like honey or cinnamon.
Tools You'll Need
-
Loaf pan
-
Mixing bowl
-
Whisk
-
Spatula
-
Baking sheet
-
Wire rack
Must-Know Tips
- Don't overmix the batter, keep it gentle.
- Let the loaf rest briefly before slicing for a cleaner cut.
- Taste as you go, adjust salt or sweetener if needed.
Professional Secrets
- Room temperature milk integrates more evenly.
- A quick brush of butter creates a subtle sheen and flavor boost.
- Steam in the oven keeps the interior moist while crisping the crust.

Recipe by
EvaEva is a seasoned home‑cook turned recipe developer who brings a dash of curiosity and a pinch of precision to every dish she creates for Your Website ...
Get Delicious Recipes Weekly
Join 25,000+ home cooks getting our best recipes straight to their inbox.
Free forever • No spam • Unsubscribe anytime