Did you know that improperly configured security levels on your ASA device can leave your network vulnerable to unauthorized access? The Cisco ASA firewall is a critical component in securing enterprise networks, and its security levels play a pivotal role in controlling traffic flow between different network segments.
By assigning security levels to interfaces, you determine the level of trust for each network segment, influencing how traffic is permitted or denied between them. This fundamental concept is crucial for network administrators to grasp, as it directly impacts the security posture of their organization.
Key Takeaways
- Understand how security levels function as the foundation of the ASA firewall’s security model
- Learn about the numerical system behind security levels and their impact on traffic flow
- Discover default behaviors governing traffic between interfaces with different security levels
- Explore configuration options for customizing security level behaviors
- Gain insights into practical implementation examples
What Are Cisco ASA Security Levels?
Understanding ASA security levels is essential for configuring your network’s security hierarchy. These levels determine how the Cisco ASA handles traffic between different interfaces based on their trustworthiness.
Definition and Purpose
Cisco ASA security levels are used to define the trust level of different network interfaces. The primary purpose of these levels is to control the flow of traffic between interfaces based on their assigned security levels.
The ASA uses these levels to determine the default traffic flow permissions between interfaces, enhancing your network’s security posture.
Security Level Numbering System
The ASA security level numbering system operates on a scale from 0 to 100. Here’s how it works:
- The highest level, 100, is typically assigned to the most trusted network, usually the inside corporate network.
- Level 0 is assigned to completely untrusted networks, typically the internet-facing outside interface.
- Intermediate levels, such as 50, are used for partially trusted zones like DMZ segments.
- You can customize your security hierarchy by assigning any value between 0 and 100 based on your specific network requirements.
- This numerical system creates a clear hierarchy that determines the default traffic flow permissions between interfaces.
Default Traffic Flow Behavior
When configuring a Cisco ASA, it’s essential to grasp how security levels influence the default flow of traffic. The Cisco ASA firewall’s behavior regarding traffic flow is primarily determined by the security levels assigned to its interfaces. Understanding this behavior is crucial for designing and implementing a secure network architecture.
Traffic from Higher to Lower Security Levels
By default, traffic is allowed to flow from an interface with a higher security level to one with a lower security level. This means that if you have an inside interface (typically set to 100) and an outside interface (typically set to 0), traffic can flow from the inside to the outside without additional configuration.
Traffic from Lower to Higher Security Levels
Conversely, traffic is not allowed to flow from an interface with a lower security level to one with a higher security level unless explicitly permitted by an access rule. For example, traffic from the outside interface to the inside interface is blocked by default, protecting your internal network from external threats.
Traffic Between Interfaces with the Same Security Level
By default, traffic cannot flow between interfaces that have the same security level. This restriction is in place to prevent unintended communication between network segments that are considered equally trusted. To enable traffic flow between such interfaces, you must use the same-security-traffic permit inter-interface command, allowing for more flexible network design when needed.
Standard Interface Security Level Configuration

When configuring your Cisco ASA firewall, understanding the standard interface security levels is crucial for maintaining a robust security posture. The Cisco ASA uses a numbering system to represent the security level of each interface, ranging from 0 (least secure) to 100 (most secure).
The typical configuration involves assigning different security levels to various interfaces based on their trustworthiness. This configuration is fundamental to controlling the flow of traffic between different network segments.
INSIDE Interface (Level 100)
The INSIDE interface is usually assigned the highest security level, 100, as it represents your trusted internal network. This setting allows for more relaxed security controls for traffic originating from this interface.
OUTSIDE Interface (Level 0)
In contrast, the OUTSIDE interface is typically assigned the lowest security level, 0, as it connects to the untrusted internet. This low security level restricts traffic from this interface by default.
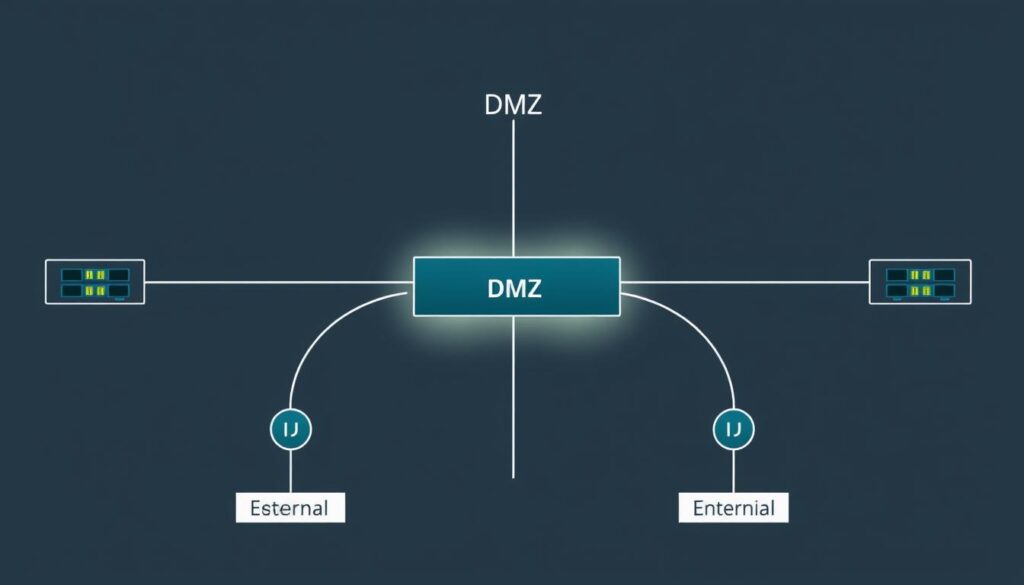
DMZ Interface (Level 50)
Your DMZ interface is typically assigned an intermediate security level, such as 50, representing a partially trusted network segment. This level positions the DMZ between your trusted internal network and the untrusted internet, creating a buffer zone. The DMZ commonly hosts public-facing servers that need to be accessible from the internet while maintaining some level of security. By default, DMZ hosts can communicate with the internet but not with your internal network, creating a security buffer zone that helps protect your internal resources.
Understanding the DMZ’s intermediate security position is crucial for properly securing public-facing services. The intermediate security level of the DMZ interface allows for controlled access to and from the internet, enhancing the overall security of your network.
- The DMZ interface is assigned an intermediate security level, creating a partially trusted zone.
- This security level positions the DMZ between your internal network and the internet.
- The DMZ hosts public-facing servers that need to be accessible from the internet.
Configuring Cisco ASA Security Levels

Configuring Cisco ASA security levels is a fundamental step in setting up your firewall’s security policy. This configuration determines how the ASA handles traffic between different interfaces, based on their assigned security levels.
Basic Security Level Assignment Commands
To assign a security level to an interface, you use the security-level command in interface configuration mode. For example, to set the security level of the inside interface to 100, you would use the following commands:
- Enter interface configuration mode for the inside interface.
- Use the security-level 100 command.
This simple process allows you to define the security hierarchy of your network segments. You can configure security levels for various interfaces such as the outside, DMZ, or any other defined interfaces, using the same security-level command.
Verifying Security Level Configuration
After configuring security levels, it’s essential to verify that they are set as intended. You can verify your security level configurations using several show commands on the ASA.
- The “show running-config interface” command displays the current configuration of all interfaces, including their security levels.
- Using “show interface [interface_name]” provides detailed information about a specific interface, including its security level.
- The “show nameif” command gives a quick overview of all interfaces, their names, and assigned security levels.
Regular verification of security levels is a crucial part of maintaining your network’s security posture. When troubleshooting traffic flow issues, always verify the security levels of the involved interfaces first to ensure they align with your intended security policy.
Creating Exceptions to Default Security Behavior
When configuring your Cisco ASA, you may need to create exceptions to the default security behavior to accommodate specific network requirements. By default, the Cisco ASA allows traffic to flow from higher security levels to lower ones and restricts traffic flowing in the opposite direction. However, there are scenarios where you need to override this behavior.
Using Access Control Lists (ACLs)
One way to create exceptions is by using Access Control Lists (ACLs). ACLs allow you to control traffic flow based on specific criteria such as source and destination IP addresses, ports, and protocols. By applying ACLs to your interfaces, you can permit or deny traffic that would otherwise be blocked by the default security behavior. This provides a granular level of control over your network traffic.
ACLs are particularly useful when you need to allow specific services or applications through the firewall that are not permitted by default. For example, you might need to allow incoming traffic on a specific port to a server located in a lower security level interface.
Implementing the same-security-traffic Command
Another way to create exceptions is by using the `same-security-traffic` command. This command allows you to enable traffic flow between interfaces with the same security level. You can use the “same-security-traffic permit inter-interface” global configuration command to override the default behavior that blocks traffic between interfaces with identical security levels.
- Enabling same-security traffic allows for more flexible network configurations, especially in complex environments with multiple segments at the same trust level.
- You can also use the “same-security-traffic permit intra-interface” command to allow traffic to enter and exit the same interface, which is useful in certain network topologies.
- It’s important to note that enabling same-security traffic doesn’t bypass access control; you can still apply ACLs to control specific traffic flows.
When implementing these exceptions, consider the security implications of allowing traffic between equally trusted segments. This configuration is commonly used in environments with multiple DMZ segments that need to communicate with each other.
Practical Security Level Implementation Examples
Security levels on Cisco ASA devices dictate the default behavior of traffic flow between interfaces. To effectively manage your network security, you need to understand how to implement security levels in real-world scenarios.
Allowing Internet Access to DMZ Servers
To allow internet access to servers in your DMZ, you need to configure your Cisco ASA to permit outbound traffic from the DMZ to the internet. By default, traffic from a higher security level to a lower security level is allowed, so you typically don’t need to configure ACLs for this traffic flow. However, you may need to configure ACLs to control inbound traffic to your DMZ servers. Remember that adding an ACL implicitly denies all traffic not matched by the ACL, so ensure you permit necessary traffic.
Enabling Communication Between Same-Level Interfaces
To enable communication between interfaces with the same security level, you first need to enable this feature globally using the command: same-security-traffic permit inter-interface. This is useful in complex environments where multiple DMZ segments need to communicate. After enabling this feature, you can still apply ACLs to control specific traffic between these interfaces.
- Enable the feature globally with: same-security-traffic permit inter-interface
- Apply ACLs to control traffic between same-level interfaces
- Useful in complex environments with multiple DMZ segments
By carefully configuring security levels and understanding their implications on network traffic, you can enhance your network’s security posture.
Conclusion
Understanding Cisco ASA security levels is essential for a robust security policy. You’ve now gained a comprehensive understanding of how these levels control traffic flow between different network segments. Security levels form the foundation of the ASA’s security model, creating a hierarchy of trust that determines default traffic permissions.
By grasping the default behaviors and learning how to create exceptions, you can implement a security policy that balances protection with accessibility. Remember, higher security levels, like 100 for inside interfaces, have more privileges than lower levels, such as 0 for outside interfaces.
- When troubleshooting connectivity issues across your ASA, always verify the security levels of the involved interfaces.
- Consider security levels as your first line of defense, with access lists providing more granular control where needed.
- Implementing a well-designed security level strategy is crucial for maintaining security while enabling necessary business functions.
In conclusion, mastering Cisco ASA security levels and their configuration is vital for effective network security. By applying this knowledge, you can ensure your ASA is configured to protect your network while allowing necessary traffic to flow.
FAQ
What is the purpose of interface security levels on your Adaptive Security Appliance?
Interface security levels determine the trustworthiness of an interface, with higher levels indicating greater trust. By default, traffic is allowed from a higher security level to a lower one, but not the other way around.
How do you configure the security level of an interface on your device?
You can configure the security level of an interface using the `security-level` command in interface configuration mode. For example, to set the security level to 50, you would use the command `security-level 50.
What happens when you have two interfaces with the same security level?
By default, traffic is not allowed between interfaces with the same security level. To enable communication between same-level interfaces, you need to use the `same-security-traffic permit inter-interface` command.
Can you allow traffic from a lower security level interface to a higher security level interface?
Yes, you can allow traffic from a lower security level interface to a higher security level interface by using an Access Control List (ACL) to explicitly permit the traffic.
What is the default security level for the INSIDE and OUTSIDE interfaces?
The INSIDE interface typically has a security level of 100, indicating it is the most trusted interface, while the OUTSIDE interface has a security level of 0, indicating it is the least trusted.
How do you verify the security level configuration on your device?
You can verify the security level configuration by using the `show interface` or `show running-config interface` command to check the security level assigned to each interface.
